Keycloak Setup in local environment
Install and start keycloak
Follow the official documentation of keycloak to start the service Getting started.
Below is an example to start keycloak with Docker.
version: "3"
services:
  keycloak:
    image: quay.io/keycloak/keycloak:20.0
    command: start-dev
    ports:
      - 8282:8282
    environment:
      - KEYCLOAK_ADMIN=admin
      - KEYCLOAK_ADMIN_PASSWORD=password
      - KC_HTTP_PORT=8282
For running optimized build of keycloak refer keycloak official documentation
Setup ACE realm with a test user
Download below script setup-keycloak.sh using below curl command.
curl https://dev.ace-community.sapienspaas.com/scripts/setup-keycloak.sh -o setup-keycloak.sh
Run the script setup-keycloak.sh with below arguments
-b Base url of keycloak eg `https://<Your hostname>`
-u Admin username of keycloak
-p Admin password of keycloak
-r realm name
-o Base url of ACE orch service
-f Base url of ACE flow manager
Below is an example:
./setup-keycloak.sh -b http://localhost:8282 -u admin -p password -o http://localhost:3000 -f http://localhost:5005 -r ACE
For Keycloak under 17 auth url should have /auth suffix.
This will create realm ACE with user user with password user.
Verify ACE realm setup
This is an optional section to verify that above script worked correctly, you can skip this initaially and come back later if you are not able to login using the user created above.
- Login to keylock admin console with admin credentials.
- In top left corner select ACE realm from dropdown.
- Click on clients tab and verify if 'ace-client' is present in the list.
 4. Click on 'ace-client' in clients list and verify if 'open-id' present in Client scopes tab.

5.Click on Client scopes in left menu and verify if 'open-id' exist in Client scopes list.

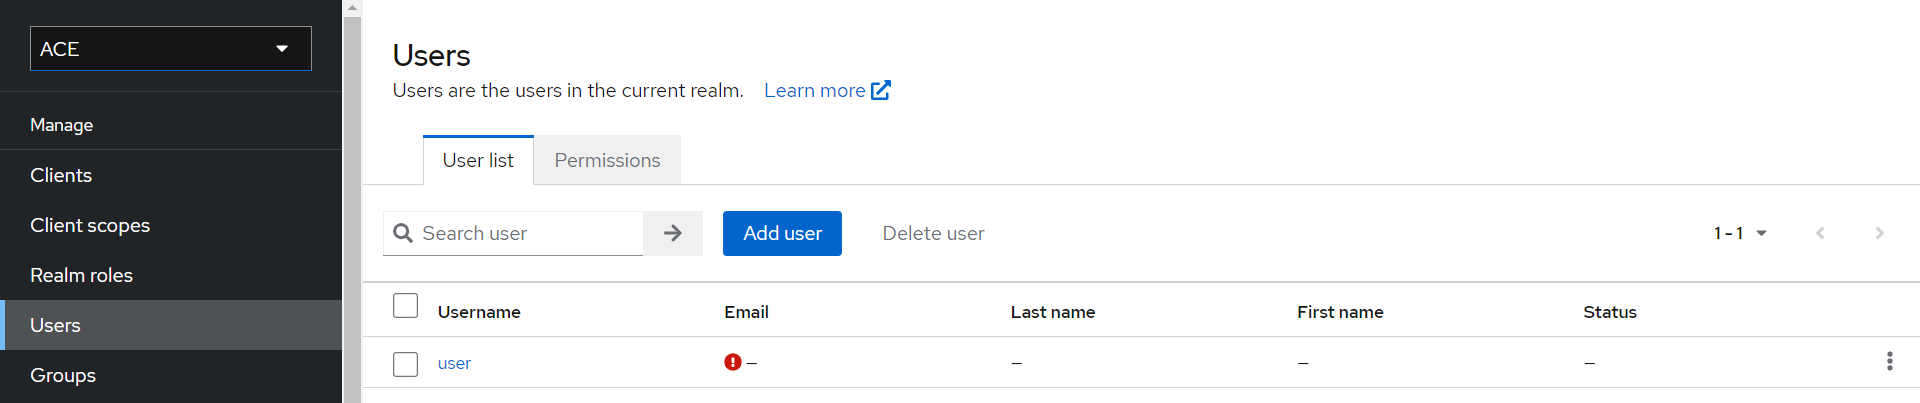
- Click on 'Users' tab in Manage section. Click 'View all users' and verify if user with username 'user' is created.
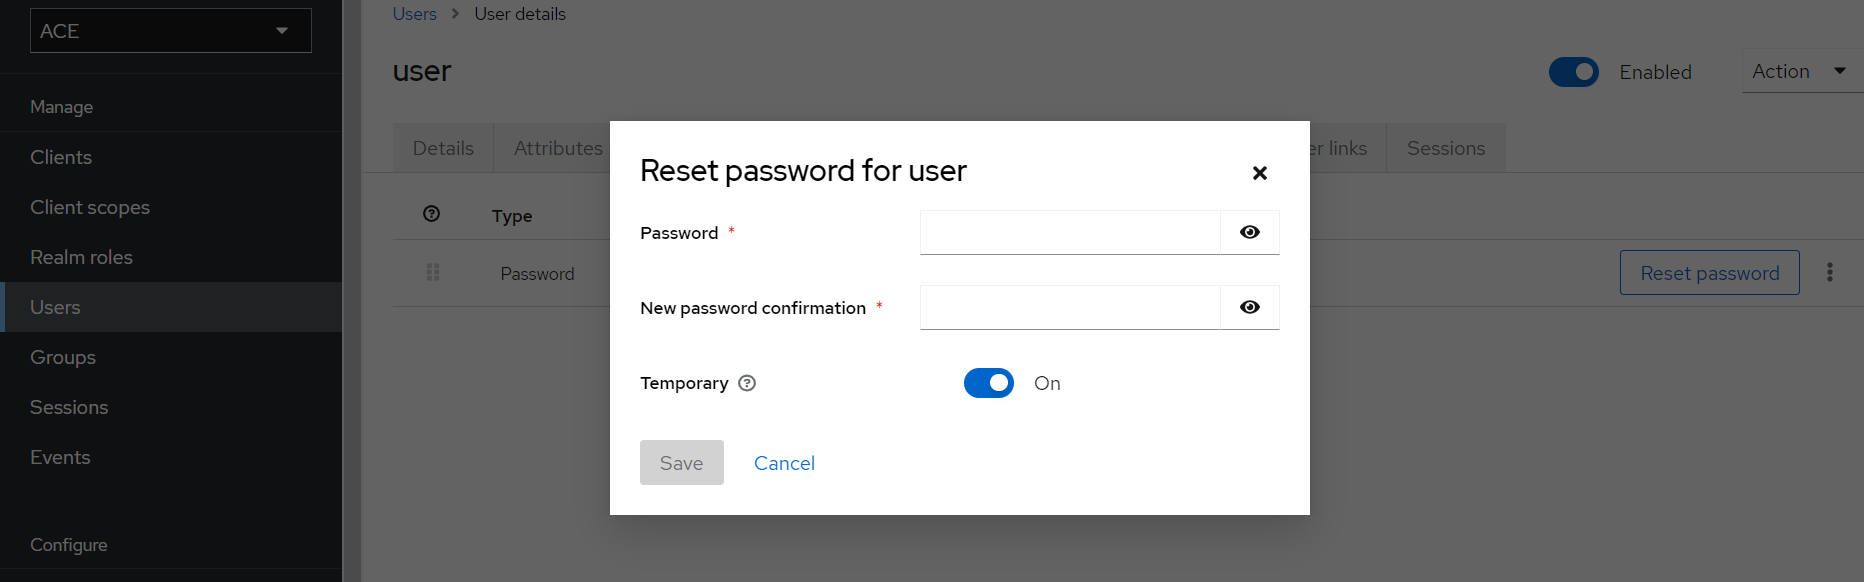
- Click on the user and then visit 'Credentials' tab.
- Change the password. This password will be used to generate token for user.
- Uncheck 'Temporary' checkbox.
- Save user details.
- Visit 'Details' tab for this user and remove all the Required User Actions if present.
Setup Flow Manager to use keycloak
This guide assumes that you have knowledge of ACE services ACE Components
Append configuration below to following services
digital-flow-ui
REACT_APP_AUTH_STRATEGY=keycloak
digital-api-orch
JWT_SECRET=55ArGDNaNr0P5B00Bg1bEK1L1
JWT_EXPIRE=1440
ACE_UI_AUTH_STRATEGY=keycloak
KEYCLOAK_CLIENTID=ace-client
KEYCLOAK_REALM=ACE
KEYCLOAK_CLIENT_SECRET=4c363dd5-096a-426f-b2d0-db878c49ac02
KEYCLOAK_AUTH_SERVER_URL=<Your keycloak public url>, eg `https://<Your hostname>`
ACE_UI_URL=<Your flow manager public url>
For Keycloak under 17 auth url should have /auth suffix. Eg KEYCLOAK_AUTH_SERVER_URL=https://<Your hostname>/auth
Local docker-compose setup
If you are running ace locally using docker-compose with keycloak then follow these steps:
- Set this variable as below in above-mentioned
digital-api-orchservice configuration.
KEYCLOAK_AUTH_SERVER_URL=http://keycloak:8282
- Edit your system
hostsfile and add below entry
127.0.0.1 keycloak
For Windows system
hosts file location for windows is C:\Windows\System32\drivers\etc
After editing the hosts file run below command to reflect the changes immediately
ipconfig /flushdns