Configuring Auth0 authentication
This is a configuration guide for integrating Auth0 with an ACE environment for developer authorization.
Auth0 setup
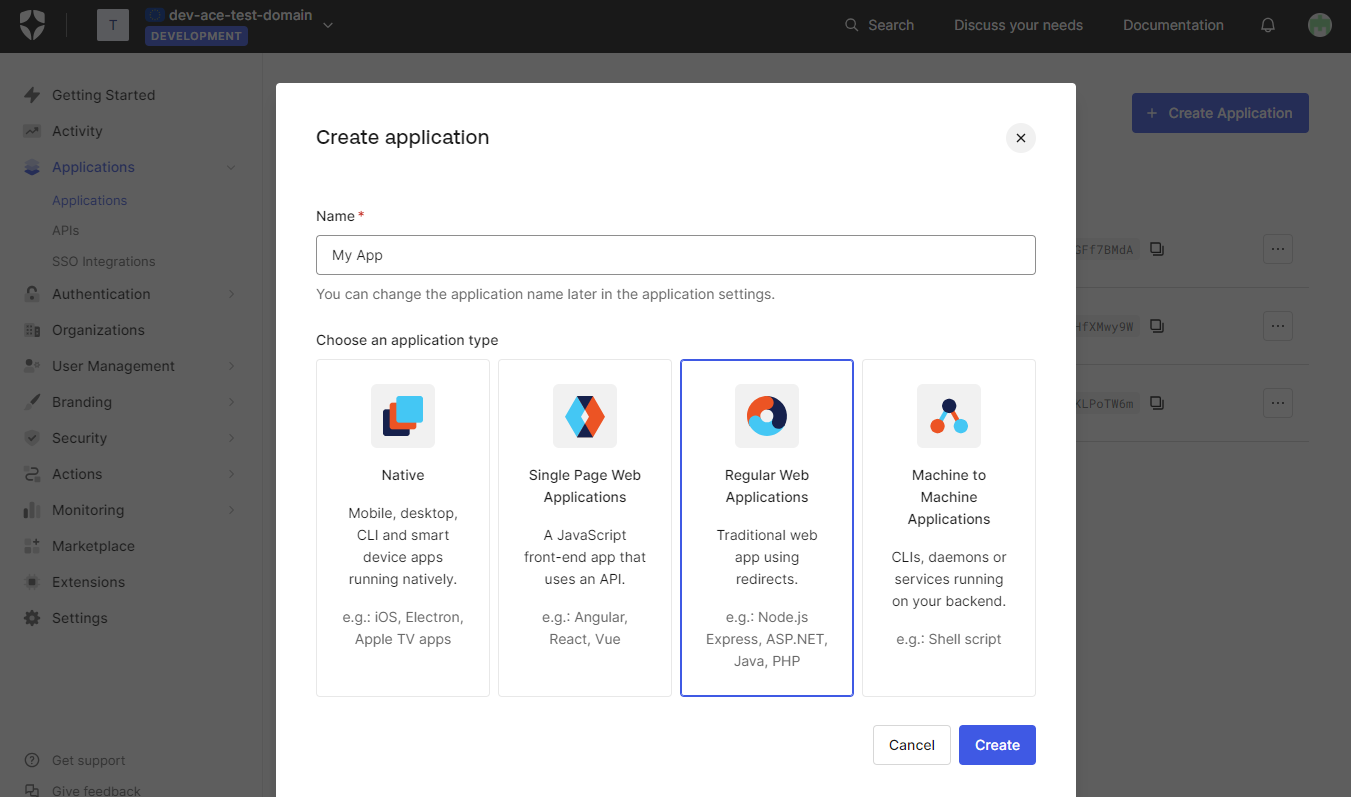
Create an Auth0 application
First, create the "Regular Web Application" application from Auth0 and navigate to the application settings.
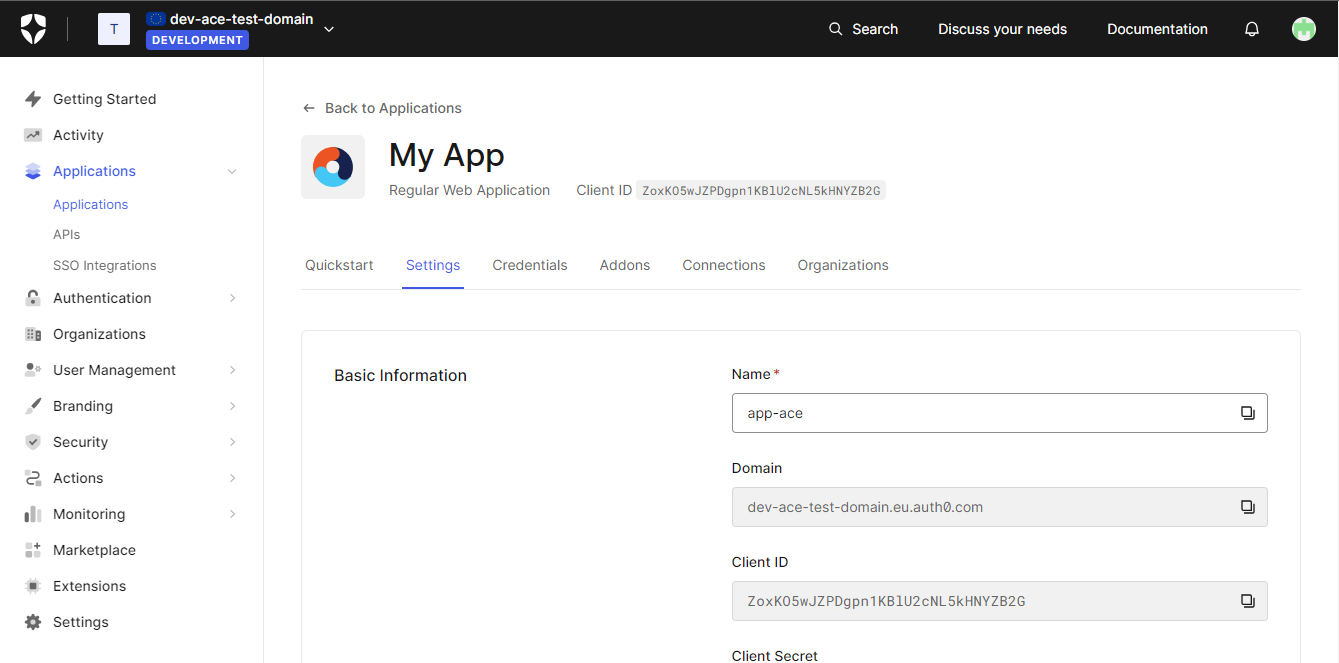
Configure application settings
From the application settings page it is necessary to configure the following fields:
- Allow Callback URLs - set to
https://<app-domain>/auth/oidc/callback - Allowed Logout URLs - set to
https://<app-domain>/auth/oidc/logout, https://<app-domain>/auth/oidc/logout/callback
Make sure to replace <domain> with your respective ACE domain (e.g., https://myace.app.com/auth/oidc/logout for the domain myace.app.com).
Finally, write down the Domain, Client ID and Client Secret for use in the following step.
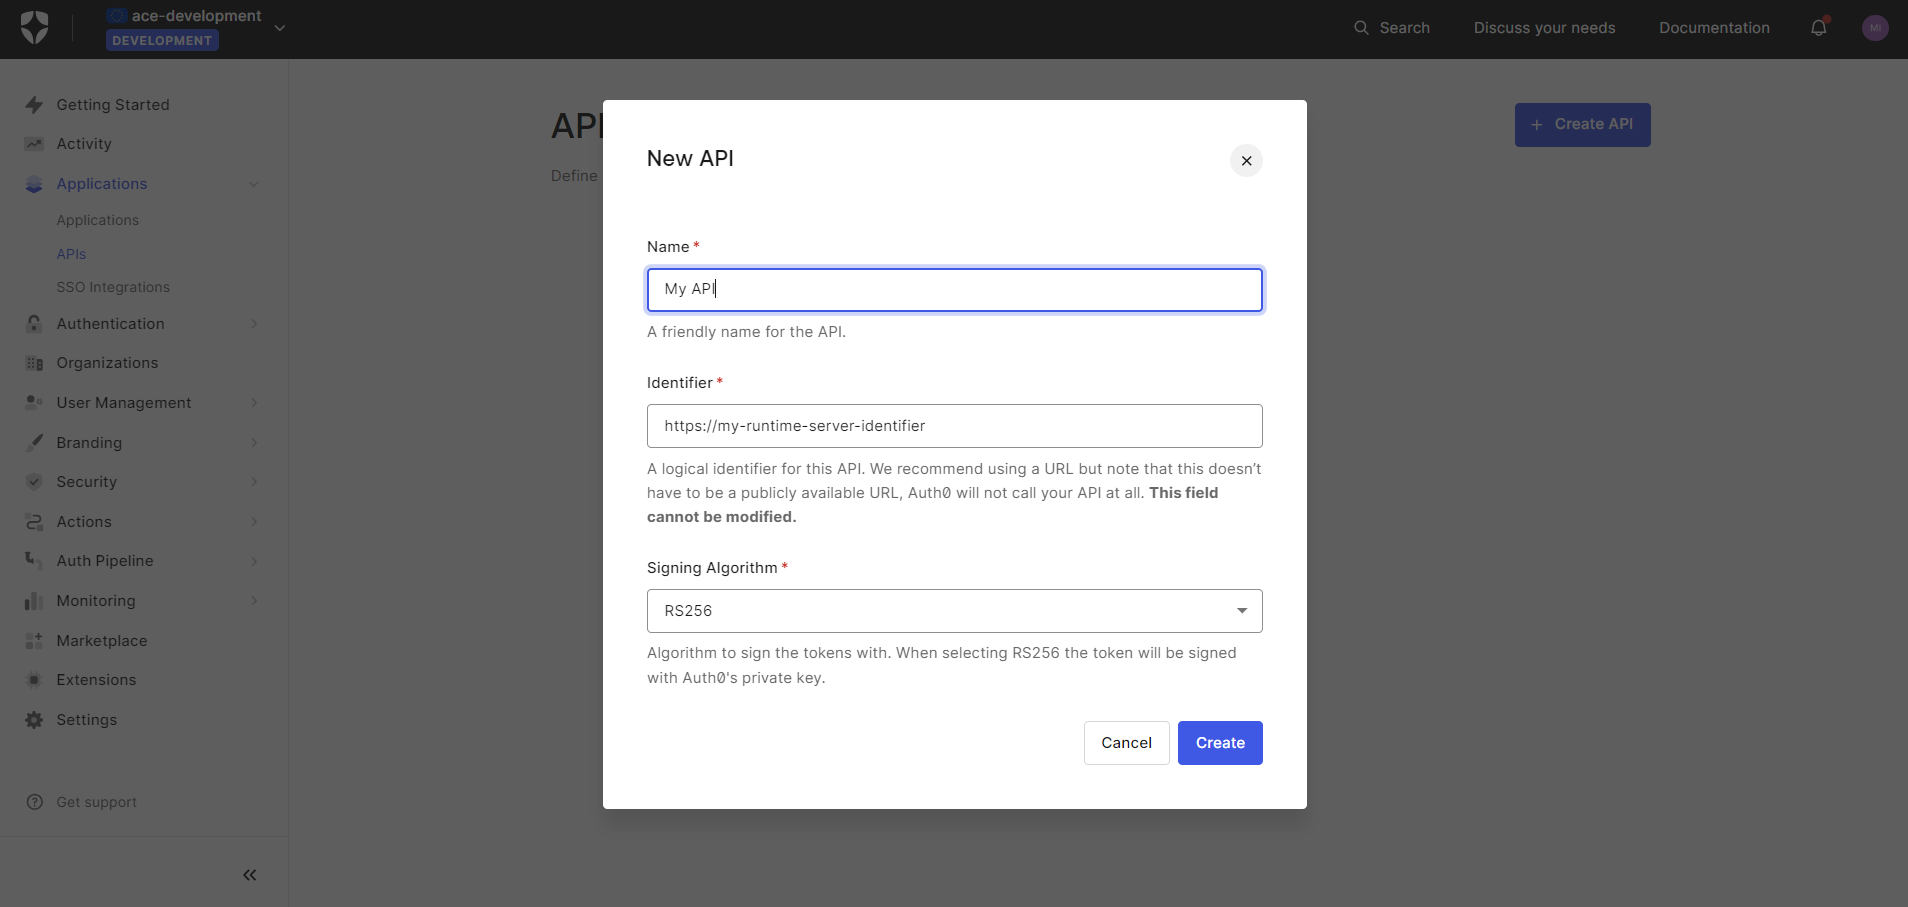
Create an API
Create an API from Auth0 and write down the Identifier you choose for the API.
Configure ACE environment variables
Configure the necessary variables described here using the values noted in the guide:
- Assign
DomaintoACE_OIDC_ISSUER_BASE_URLinace-designer,ace-runtime-serverservices. - Assign
IdentifiertoACE_OIDC_AUDIENCEinace-designer,ace-runtime-serverservices. - Assign
Client IDtoACE_OIDC_CLIENT_IDinace-designer. - Assign
Client SecrettoACE_OIDC_CLIENT_SECRETinace-designer.
Additional configuration
After following the previous steps, ACE should be successfully configured to use with Auth0. Going forward, configure necessary connections (Github, Gmail, etc.) from the Auth0 Connections tab and use it to authenticate as an ACE user.